How to Nock an Arrow Correctly and Safely: A Beginner’s Guide
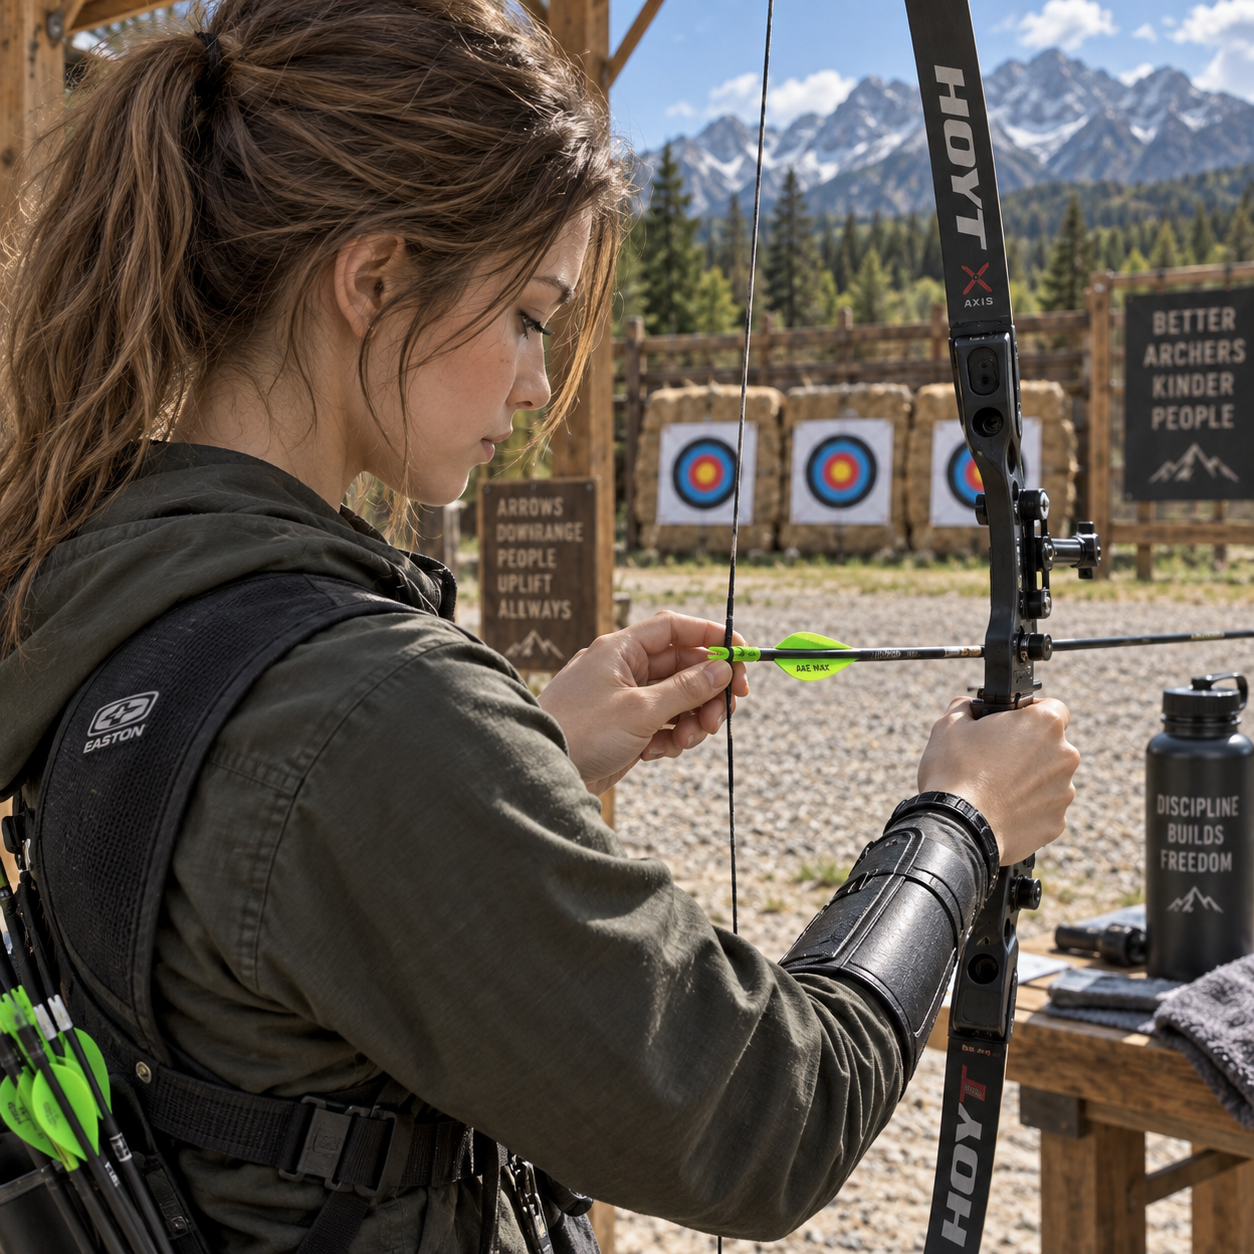
Nocking an arrow is the first physical step in preparing a bow for a shot. Done correctly, it places the arrow in the right relationship to the bowstring, nocking point, and arrow rest so the arrow can be drawn and released safely.
The movement is simple, but beginners should treat it as a safety procedure rather than a casual loading step. A damaged nock, incorrectly positioned arrow, or unclear range can cause equipment damage or an unsafe shot. The instructions below apply broadly to recurve bows, longbows, and compound bows, although individual equipment may use different arrow rests, nocking points, or a D-loop.
What Does It Mean to Nock an Arrow?
Nocking an arrow means placing the arrow on the arrow rest and attaching its arrow nock to the bowstring at the correct position. This connects the arrow to the bow while keeping it aligned for the draw and release.
The small grooved component at the rear of the arrow is the arrow nock. It fits around the bowstring, usually near a nocking point or nock locator. The nocking point marks the arrow’s vertical position on the string and helps prevent it from sliding during the shot.
At the front of the relationship is the arrow rest. The shaft should sit on, or pass over, this support according to the design of the bow. On a compound bow, the string may include a D-loop, a short cord loop used by a mechanical release aid. In that setup, the arrow nock normally sits on the bowstring between the D-loop’s upper and lower knots.
These parts work together:
- Bowstring: transfers energy from the drawn bow to the arrow.
- String serving: the wrapped section that protects the string and provides a durable surface for the nock.
- Nocking point or nock locator: helps establish the arrow’s vertical position.
- Arrow rest: supports or guides the arrow before and during the shot.
- Index vane: the differently colored or specially shaped fletching that shows the arrow’s intended orientation.
If your bow has unusual hardware or you are unsure where the arrow belongs, pause and check the equipment manual or ask a qualified instructor.
Check Your Equipment Before Nocking
Before nocking an arrow, inspect the arrow, nock, bowstring, serving, arrow rest, and shooting area. This short check catches problems before they become a dry fire, damaged bow, or unsafe release.
Hold the arrow by the shaft and examine it from end to end. Look for cracks, bends, deep scratches, loose inserts, or damaged fletching. Carbon arrows deserve particular attention because a crack may be difficult to see; never shoot an arrow you suspect is damaged. Your instructor or the arrow manufacturer can explain appropriate inspection methods.
Inspect the arrow nock for chips, splits, distortion, or looseness. A nock that falls off the string without much resistance may not hold securely. One that requires excessive force may be too tight for the string serving. Both conditions need correction before shooting.
Next, examine the bowstring and its string serving. Look for broken strands, heavy fraying, separation, or serving that has moved enough to expose the string beneath it. Check that the nocking point or nock locator has not shifted.
Look at the arrow rest as well. It should be attached firmly and free of obvious damage. Finally, face the bow toward the ground or a safe downrange direction while confirming that the shooting lane is clear. Archery ranges commonly use commands such as “safe” and “clear”; follow the range’s rules every time. The National Park Service archery guidance also emphasizes using designated areas and following local safety requirements.
How to Nock an Arrow Step by Step
To nock an arrow, orient the index vane, place the shaft on the arrow rest, and gently press the nock onto the bowstring at the correct location. Do not draw the bow until you have confirmed that the arrow is properly seated and the range is clear.
- Stand safely. Keep the bow pointed toward the ground or downrange. Hold the bow with your non-draw hand and keep the draw hand away from the string until you are ready to load the arrow.
- Identify the index vane. Find the odd-colored vane or the vane marked by the manufacturer. On many bows, it points away from the bow, but this is not universal. Follow the arrow rest and bow manufacturer’s instructions if they specify a different orientation.
- Place the shaft on the arrow rest. Set the arrow gently onto the rest, with the front of the arrow aimed downrange. Do not push the shaft hard into the rest or force it under a containment feature.
- Position the nock near the string. Bring the rear of the arrow to the bowstring. Align the nock with the serving and place it at the nocking point or between the D-loop knots, depending on your setup.
- Attach the nock gently. Press the nock onto the string until it is seated. You may feel or hear a light click, but never force the nock onto the string. If it resists, remove the arrow and investigate rather than twisting aggressively.
- Perform a visual check. Confirm that the nock is on the string, the arrow is supported by the rest, the index vane has the correct orientation, and the shaft points safely downrange.
With a finger release, the draw hand will later contact the string below the arrow, above it, or in a three-finger arrangement according to the technique taught by your instructor. With a compound bow and release aid, the release attaches to the D-loop only after the arrow is correctly nocked and the range is confirmed.
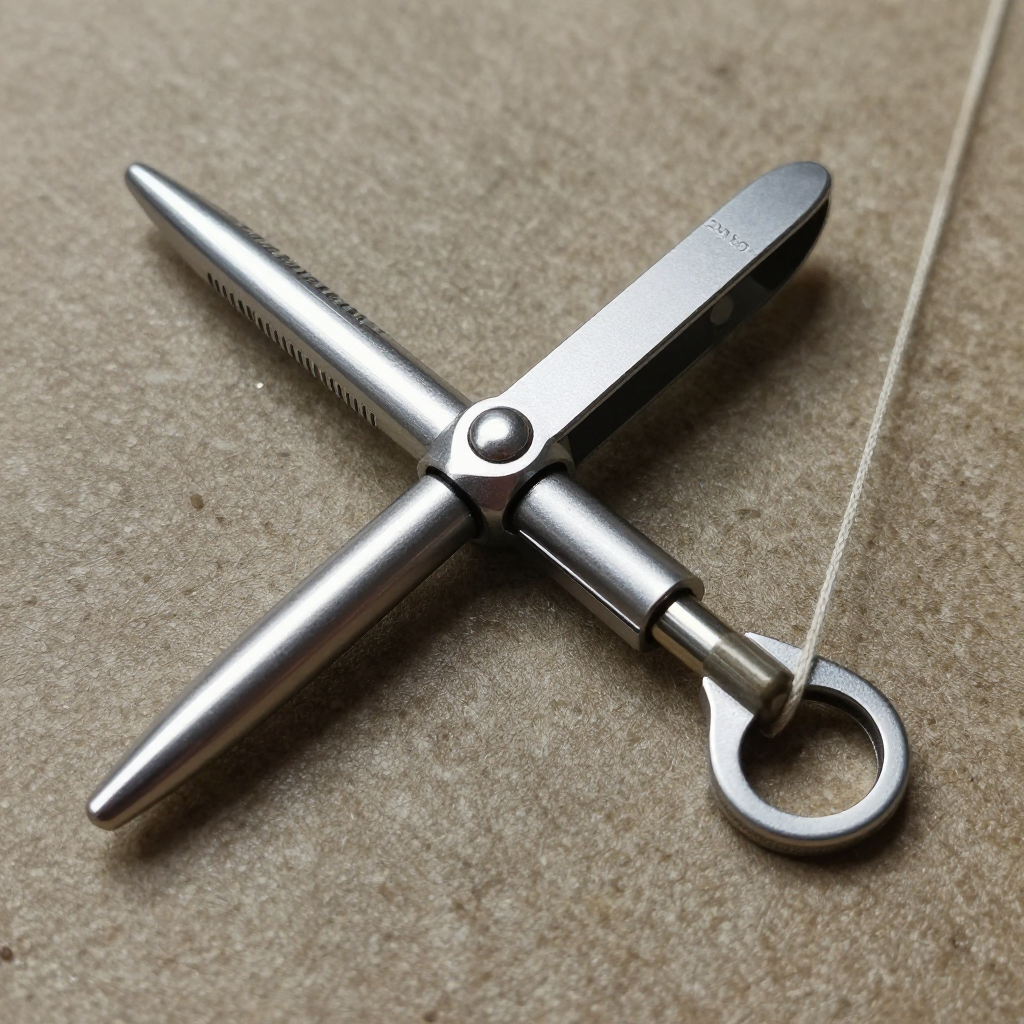
Correct Arrow Position on the Bow
The arrow is correctly positioned when the nock sits at the intended nocking point, the shaft rests securely on the arrow rest, and the index vane has the correct orientation. The arrow should remain stable without being forced or pinched.
Look first at the rear of the arrow. The nock should be centered on the bowstring at the manufacturer’s intended location. On many recurve bows, that means placing it just above a nocking point or nock locator. On a compound bow, it commonly sits within the D-loop. Do not copy another archer’s spacing because nocking-point placement depends on the bow, string, rest, and setup.
Then inspect the front half of the arrow. It should sit naturally on the arrow rest, with no vane trapped against the bow window or rest unless the equipment is specifically designed for that arrangement. A trapped vane can cause contact, noise, poor arrow flight, or damage during release.
Use a simple three-part visual cue: nock centered, shaft supported, vane clear. If any part looks wrong, lower the bow and correct it before drawing. Do not rely only on sound. A click does not prove that the arrow is correctly oriented or safely supported.
Common Beginner Mistakes and How to Avoid Them
Most nocking problems come from incorrect orientation, poor equipment inspection, or forcing the arrow onto the string. Each mistake is easy to prevent when you slow down and use the same check every time.
Reversing the index vane
The error: The index vane faces the wrong direction or catches on the bow. Beginners often assume every bow uses the same orientation. The result can be vane contact, inconsistent arrow flight, or damage to the fletching. Identify the bow’s intended vane position before shooting, and ask an instructor when the rest design is unfamiliar.
Using a damaged, loose, or overly tight nock
The error: A cracked nock is ignored, or a tight nock is forced onto the serving. People often mistake resistance for a sign of a secure fit. A damaged or loose nock can release unpredictably, while a tight nock may damage the serving or interfere with a clean release. Replace questionable nocks and have an instructor or pro shop check unusual fit.
Placing the arrow at the wrong string position
The error: The arrow is placed above or below the nocking point, or outside the D-loop. This usually happens when the string setup is unfamiliar. The arrow may move during the draw or leave the bow at a poor angle. Use the existing nock locator or D-loop as your reference, and do not move string components without proper instruction.
Forcing or twisting the arrow
The error: Excessive pressure is used to make the nock click. This can damage the nock, serving, or arrow rest. Remove the arrow, inspect the parts, and resolve the fit problem instead. A correct nocking motion is controlled and gentle.
Safe Habits After Nocking
After nocking, keep the bow pointed downrange, place the draw hand correctly, and confirm that the range is clear before drawing. Nocking an arrow does not mean the bow is ready to shoot.
Keep fingers and hands away from the path of the bowstring. If you use a finger release, follow the grip and finger placement taught for your bow. If you use a mechanical release, attach it to the D-loop only when the arrow is secure and the range is open.
Never point a nocked bow at another person, even if you believe it is unloaded or undrawn. Do not raise the bow toward the sky, turn sideways with the arrow loaded, or walk around with a nocked arrow. If someone enters the range, stop and lower the bow.
Most importantly, avoid a dry fire. A dry fire occurs when the bow is drawn and released without the arrow receiving the stored energy. It can damage limbs, cams, strings, or other components and may injure the archer. If the arrow slips, stop immediately, lower the bow, and inspect the equipment before continuing.
Practice a Consistent Nocking Routine
A consistent nocking routine uses the same sequence every time: inspect, orient, place, seat, check, and only then draw. Repetition makes safe behavior automatic without encouraging rushed handling.
- Inspect: Check the arrow, nock, bowstring, serving, arrow rest, and range.
- Orient: Find the index vane and position it according to the bow’s design.
- Place: Set the arrow shaft gently on the arrow rest.
- Seat: Attach the nock to the correct part of the string without forcing it.
- Check: Confirm “nock centered, shaft supported, vane clear.”
- Prepare: Keep the bow downrange, establish safe draw-hand placement, and verify the range is clear.
Practice this sequence with an unstrung bow only when your instructor says it is appropriate, and never use a damaged arrow for practice. When equipment behavior seems unusual, stop shooting and consult a qualified archery instructor, an experienced pro shop technician, or the manufacturer’s instructions.
Frequently Asked Questions
How can I tell whether an arrow is nocked correctly?
The nock should be seated at the intended nocking point or inside the D-loop, the shaft should rest securely on the arrow rest, and the index vane should have the correct orientation. The arrow should not wobble, slide freely, or require excessive pressure to attach.
Which way should the index vane face?
On many bows, the index vane faces away from the bow, but this is not universal. Some rests and bow designs use a different orientation. Follow the bow and arrow manufacturer’s guidance or ask a qualified instructor.
Should the nock click onto the bowstring?
A light click may occur when the nock seats, but it is not a required safety test. Never force the nock simply to create a click. The fit should be secure while still allowing a controlled release from the string.
Can I nock an arrow while the bow is pointed upward?
No. Keep the bow pointed toward the ground or safely downrange while nocking. Pointing upward can create an unsafe direction of fire and makes it easier to lose control of the arrow.
What should I do if the nock is too tight or too loose?
Do not shoot it. Remove the arrow, inspect the nock and string serving, and ask an instructor or qualified archery technician to assess the fit. Replace the nock or repair the string setup when necessary.