Essential Archery Equipment for Beginners: A Complete Checklist
Why Having the Right Gear Matters From Day One
The right archery equipment does more than help you hit the target — it keeps you safe and builds good habits before they become bad ones. Beginners who start with mismatched or improvised gear often develop compensating technique that takes months to unlearn.
Archery is a sport where small details compound quickly. A bow with too much draw weight strains your shoulder and kills accuracy. Arrows that don't match your bow can actually snap mid-shot. Skipping protective gear turns minor mistakes into bruises or worse. Getting the fundamentals right from the start means you spend your practice time actually improving — not nursing preventable injuries or fighting your equipment.
This checklist walks through every item a beginner needs, explains what each one does, and flags what to watch out for when buying. No jargon without explanation, no assumption that you've held a bow before.
Choosing Your First Bow
A recurve bow is the best starting point for most beginners. It's mechanically simple, forgiving to learn on, and the same style used in Olympic competition — meaning the technique you build transfers directly if you ever want to compete.
When selecting a recurve bow, two specs matter most:
- Draw weight — measured in pounds, this is how much force you pull against when drawing the string. Most adults start between 20–30 lbs. Going heavier too soon leads to poor form and overuse injuries. It's genuinely better to shoot a 24 lb bow with clean technique than struggle through 40 lbs.
- Bow length — typically measured in inches from tip to tip. A longer bow (66–68") is more stable and forgiving for beginners; shorter bows are more sensitive to form errors.
Many beginners are tempted to buy a heavier bow thinking it will make them stronger faster. The opposite tends to happen: fatigue sets in, form collapses, and frustration follows. Start light, build the movement pattern, then increase draw weight gradually over months — not weeks.
Takedown recurve bows (where the limbs detach from the riser) are particularly practical for beginners because you can swap limbs as your strength improves without buying a whole new bow.
Arrows — Matching the Right Arrow to Your Bow
Arrows must be matched to your specific bow setup. Using the wrong arrows isn't just an accuracy problem — it's a safety one.
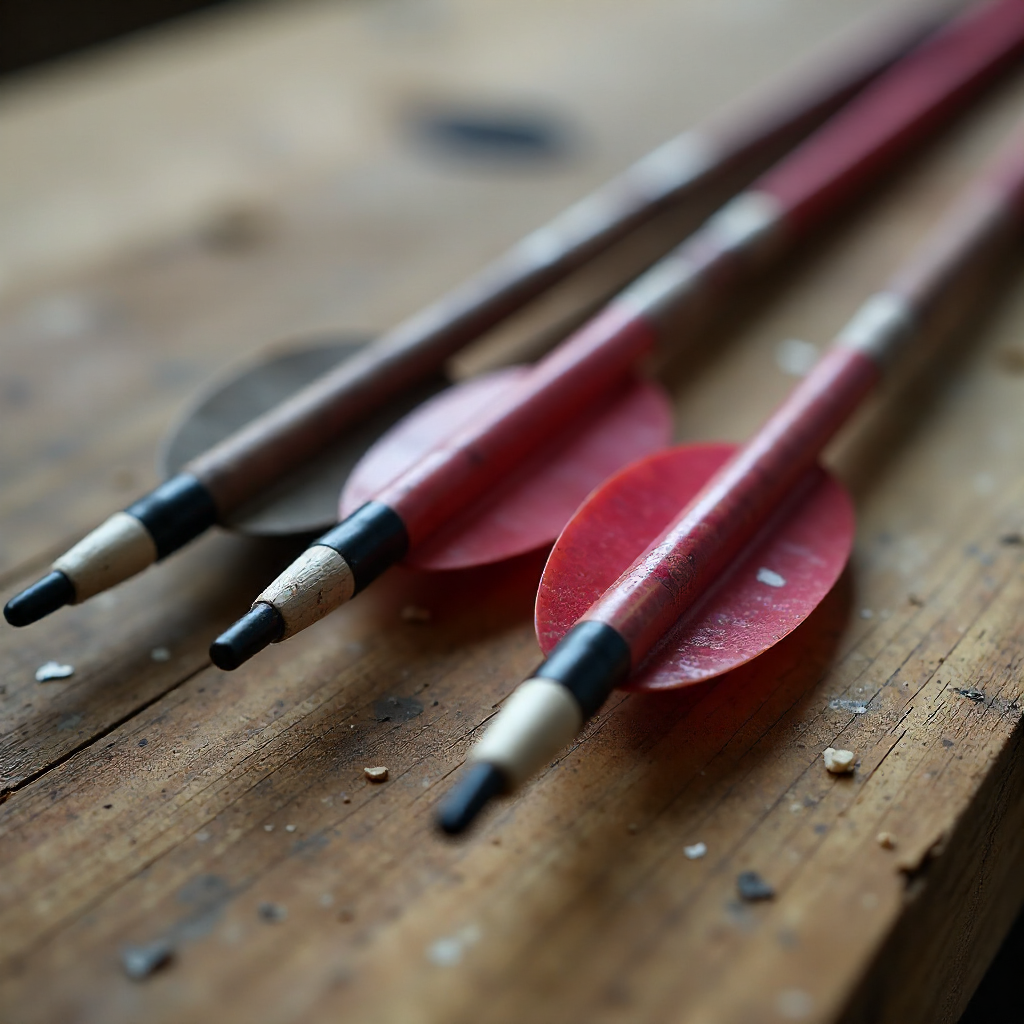
The key concept here is arrow spine — the stiffness of the arrow shaft. When an arrow is released, it flexes around the bow before straightening out in flight (this is called the archer's paradox). If the spine is too weak for your draw weight, the arrow bends excessively and can veer dangerously off course or even break. Too stiff, and it won't flex correctly, hurting accuracy.
Arrow spine is rated numerically — lower numbers mean stiffer arrows. Manufacturers publish spine charts that match arrow stiffness to draw weight and arrow length, so you're not guessing.
For arrow material, beginners have three main options:
- Aluminum — durable, consistent, and affordable. A solid choice for range practice.
- Carbon — lighter and faster than aluminum, slightly more expensive, very popular at intermediate and advanced levels.
- Wood — traditional and visually appealing, but requires more care and isn't recommended for modern recurve bows unless you're specifically pursuing traditional archery.
Arrow length matters too. A properly sized arrow extends about an inch past the arrow rest when you're at full draw. Too short is dangerous; too long just adds unnecessary weight. Most beginner archers get measured at a pro shop or club before buying their first set.
Protective Gear Every Beginner Needs
Protective gear is non-negotiable for beginners. The three items below prevent the most common injuries new archers encounter, and none of them are expensive.
Arm Guard (Bracer)
An arm guard — also called a bracer — straps to the inside of your bow arm's forearm. When the string releases, it can snap against your arm with surprising force. Without protection, this causes painful welts and, over time, bruising that discourages practice. The arm guard absorbs that snap entirely.
Finger Tab or Shooting Glove
Pulling a bowstring repeatedly tears up your fingers faster than you'd expect. A finger tab (a flat leather or synthetic pad that sits between your fingers and the string) or a shooting glove (which covers three fingers individually) protects the skin and creates a cleaner, more consistent release. Most target archers prefer a finger tab; traditional archers often favor gloves. Either works for beginners — try both if you can before committing.
Chest Guard
A chest guard keeps loose clothing away from the bowstring's path. This matters more than it sounds: a shirt sleeve catching the string mid-release throws your shot completely and can cause the arrow to go somewhere unintended. It also protects against string slap for archers with certain body types. Lightweight and inexpensive, a chest guard is worth adding to your kit from the start.
Accessories That Complete Your Setup
These three items don't get as much attention as the bow and arrows, but each one has a direct impact on consistency, equipment longevity, and safety.
Quiver
A quiver holds your arrows safely while you're at the range. Hip quivers (worn on a belt) are the most practical for beginners at a stationary target range — arrows are easy to access without fumbling. Ground quivers (which stand upright next to you) are another option that keeps arrows organized without anything strapped to your body. The goal is to avoid carrying arrows loosely in your hand, which risks injury and damages the fletching.
Bow Stringer
A bow stringer is a simple tool that lets you safely string and unstring your recurve bow. Many beginners try to string a recurve by hand using the step-through method — this is a common mistake that can twist the limbs, warp them over time, or cause the bow to snap back and injure you. A bow stringer takes about 30 seconds to use and costs very little. It's one of those items that seems optional until it isn't.
Nocking Point
A nocking point is a small brass crimp or tied thread on the bowstring that marks exactly where you place the arrow's nock every time you shoot. Without a consistent nocking point, your arrow sits at a slightly different position each shot, introducing variability that has nothing to do with your form. Setting a nocking point is one of the first things an archery instructor will do when you show up with a new bow.
Setting Up a Safe Practice Space
A proper target and backstop are essential for safe practice, whether you're at a club or setting up at home.
A good archery target for beginners is a foam block or compressed straw boss — both stop arrows cleanly without destroying them. Avoid improvised targets like cardboard boxes alone or plywood; they don't reliably stop arrows and can cause them to ricochet or pass through entirely.
Behind your target, you need a backstop — something that catches any arrow that misses or passes through the target. A thick hay bale, a dedicated archery net, or a solid earthen berm all work. The backstop should be taller and wider than your target to account for stray shots.
For home practice, most safety guidelines recommend a minimum of 10 meters (33 feet) as a starting distance for beginners, with the backstop extending at least a meter beyond the target on each side. The World Archery Federation publishes range safety standards that are worth reviewing if you're setting up a permanent practice space.
Always ensure no one is downrange before drawing. This sounds obvious, but it's the rule that prevents the most serious accidents at every level of the sport.
Beginner Equipment Checklist at a Glance
Here's a complete summary of everything covered above — save it, print it, or screenshot it before your first gear purchase.
- Recurve bow — 20–30 lb draw weight for most adults; takedown style recommended
- Arrows — spine-matched to your draw weight and arrow length; aluminum shafts are a practical starting point
- Arm guard (bracer) — protects your forearm from string slap
- Finger tab or shooting glove — protects fingers and improves release consistency
- Chest guard — keeps clothing clear of the string path
- Quiver — hip or ground style for safe, organized arrow storage
- Bow stringer — essential for safely stringing and unstringing your recurve bow
- Nocking point — ensures consistent arrow placement on the string every shot
- Target — foam block or compressed straw boss; avoid improvised alternatives
- Backstop — hay bale, archery net, or earthen berm behind the target
A complete beginner setup covering all of the above typically costs between $150–$350 depending on quality level. Spending more doesn't make you a better archer at this stage — spending wisely on properly matched gear does.
Frequently Asked Questions
What draw weight should a beginner start with?
Most beginners do well starting between 20–30 lbs of draw weight. Adults with some upper body strength can start at the higher end of that range; younger beginners or those new to physical activity should start lower. The goal is to complete 30–50 shots per session with clean form — if you're fatiguing after 10 shots, the draw weight is too high.
Can I use any arrows with any bow?
No. Arrows must be matched to your bow's draw weight and your draw length. Using arrows with the wrong spine rating affects accuracy and can be dangerous — an underspined arrow can flex unpredictably or break on release. Always consult a spine chart or ask at an archery shop when purchasing arrows.
Do I need both a finger tab and an arm guard, or just one?
You need both. They protect different things: the arm guard protects your forearm from string slap, while the finger tab protects your drawing fingers and improves release quality. Skipping either one is a common beginner mistake that leads to unnecessary pain and inconsistent shooting.
Is a recurve bow better than a compound bow for beginners?
For most beginners, yes. A recurve bow is simpler mechanically, easier to maintain, less expensive to start with, and teaches fundamental archery form more directly. Compound bows have advantages at intermediate and advanced levels, but their complexity adds variables that aren't helpful when you're still learning the basics of stance, anchor point, and release.
How much should a beginner expect to spend on a starter archery kit?
A complete beginner setup — bow, arrows, protective gear, and accessories — typically runs between $150 and $350. You can spend less by buying a basic package bow, or more by choosing higher-quality individual components. Avoid the cheapest toy-grade bows sold as "starter sets" online; they're often inaccurate and don't hold up to regular practice.